From Chaos to Control: A Guide to Streamlining Your Webflow Content Workflow
Is this scene familiar? A beautifully designed Webflow site sits waiting, but getting a single blog post published feels like a frantic relay race.
The draft lives in a Google Doc. Feedback is scattered across three different Slack channels and an email chain. The final images are buried in a team member's download folder. Someone asks, "Did legal approve this yet?" No one is quite sure.
This isn't a team problem; it's a workflow problem. As your Webflow project grows, the informal processes that worked for a team of two begin to crack under the pressure of multiple contributors, stakeholders, and a demanding content calendar.
Many businesses invest heavily in professional Webflow Development to build a powerful digital presence, only to have its potential throttled by a chaotic content process. The good news? It’s entirely fixable. This guide will provide a blueprint for creating a streamlined, scalable content creation and approval workflow specifically for large-scale Webflow projects.
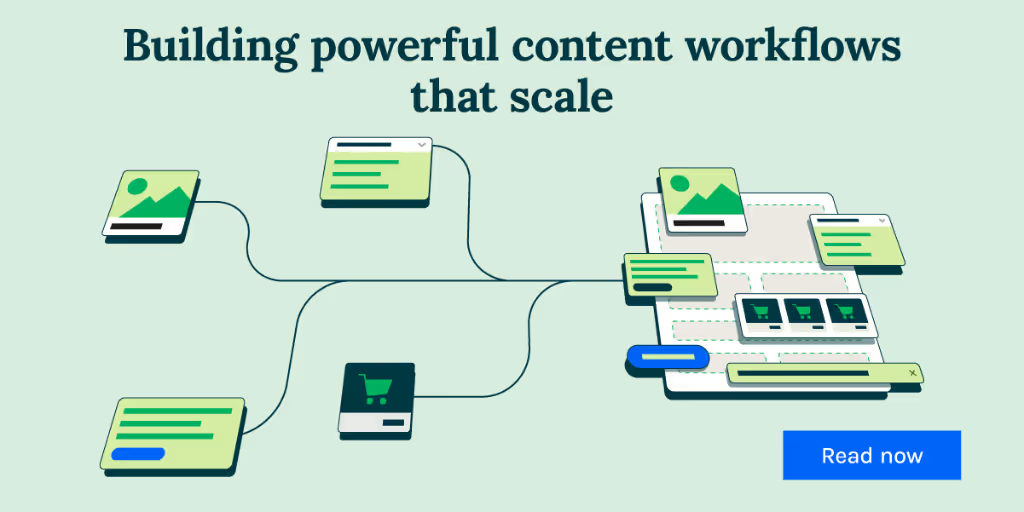
What is a Content Workflow, Really?
Before we dive into Webflow specifics, let's establish our foundation. General marketing resources from giants like HubSpot and Zapier have done a great job defining the core concepts. In essence, a content workflow is a structured, repeatable system that guides a piece of content from an initial idea to its final, published form.
It’s the rulebook that answers:
- Who is responsible for what?
- What is the status of this piece of content?
- What is the next step to move it forward?
HubSpot brilliantly distinguishes between two main types of workflows, and understanding this is your first "aha moment":
- Task-Based Workflows: These focus on a checklist of actions. Write draft -> Design graphics -> Edit copy -> Get approval. It's about completing a series of tasks.
- Status-Based Workflows: These focus on the state of the content itself. Idea -> In Progress -> In Review -> Approved -> Scheduled. It’s about moving the content through a pipeline.
For a scalable Webflow process, you need both. You need a pipeline of statuses (Status-Based) where each status has its own checklist of to-dos (Task-Based). This hybrid model provides both a high-level overview and granular control.
The Webflow Workflow Blueprint: A Four-Phase Framework
While the philosophy is universal, the application within Webflow is unique. Your workflow shouldn't just be a spreadsheet; it should be an engine that connects your strategy, your team, and the powerful Webflow CMS.
We can map this entire process into four distinct phases.
[IMAGE 1: A clean, visually appealing diagram illustrating the four phases of the Webflow content workflow: 1. Strategy & Ideation, 2. Creation & Collaboration, 3. Review & Approval, 4. Publish & Promote. Arrows show the flow from one phase to the next.]
Phase 1: Strategy & Ideation (The Engine Room)
This phase happens entirely outside of Webflow. It's where you build your content strategy and organize your ideas. Trying to manage this in the Webflow CMS is like trying to cook in your dining room it’s the wrong tool for the job.
Your Goal: Create a single source of truth for your content plan.
Key Tools:
- Project Management: Trello, Asana, Monday.com, or Notion.
- Content Calendar: A shared calendar view within your project management tool.
Actionable Steps:
- Create a Content Hub: Set up a board or project in your chosen tool. Use a Kanban view with columns that mirror your status-based workflow (e.g., Backlog, Writing, Designing, Review, Approved, Published).
- Define Your "Card": Each piece of content gets a card or task. This card should contain everything needed to create the content: target keyword, audience, key talking points, CTA, and Webflow-specific fields like "Target CMS Collection."
- Plan Your Calendar: Use the calendar view to schedule deadlines for each phase, not just the final publish date. This prevents last-minute scrambles.
Phase 2: Creation & Collaboration (The Showroom)
Once an idea is green-lit, the creator (writer, designer) gets to work. This is where the action moves into Webflow, specifically the Editor.
The Webflow Editor is a game-changer for content teams because it allows non-technical users to add and edit content directly on the page without breaking the design.
Your Goal: Empower creators to work efficiently within the Webflow environment while keeping everything organized.
[IMAGE 2: A screenshot of the Webflow Editor interface, highlighting a user adding content to a blog post CMS item. The intuitive fields like "Post Body," "Author," and "Featured Image" are clearly visible.]
Actionable Steps:
- Structure Your CMS for Success: Before you write a single word, ensure your CMS Collections are logically structured. Use clear field labels and leverage reference fields to connect related content (like authors or categories). This is crucial for scalability.
- Train Your Team on the Editor: Don’t assume everyone knows how to use it. A short training session can prevent countless headaches. Show them how to format text, add images with proper alt text, and fill out all necessary CMS fields.
- Link Back to Your Hub: On the project management card, include a direct link to the Webflow Editor page for that specific CMS item. This small step saves hours of searching.
Phase 3: Review & Approval (The Quality Gate)
This is where most workflows fall apart. It's the biggest knowledge gap we see in generic workflow guides because they don't understand the Webflow ecosystem. How do you get feedback from multiple stakeholders (editors, legal, SEO specialists, executives) without a mess of conflicting comments?
Your Goal: Create a clear, centralized feedback loop before anything goes live.
Actionable Steps:
- Leverage the Staging Site: Webflow's staging domain (
your-site.webflow.io) is your most powerful review tool. When a piece is ready for review, publish it to the staging domain only. This allows stakeholders to see the content exactly as it will appear live. - Use a Visual Feedback Tool: Email and Slack are terrible for design and content feedback. Integrate a tool like MarkUp.io or Frame.io. These tools allow reviewers to click directly on the staging site and leave comments, which are then collected in one organized place.
- Define Approval Roles: In your project management tool, clearly tag the required approvers. The content cannot move to the "Approved" status until every required person has signed off.
Phase 4: Publish & Promote (The Launchpad)
With all approvals in, you're ready for the final step. This phase is less about creation and more about precision and process.
Your Goal: Publish content flawlessly and ensure it gets seen.
Actionable Steps:
- Final Pre-Flight Check: Create a "Pre-Publish Checklist" in your project management template. This should include: SEO meta title/description, Open Graph image, URL slug check, and internal links.
- Schedule, Don't Rush: Use Webflow's native scheduling feature to publish content at optimal times. This decouples the approval from the act of publishing, reducing pressure on the team. Sometimes, projects have extremely tight timelines, and a well-oiled workflow is the only way to meet those demands, a principle that also powers specialized services like WSC Hyperspeed.
- Update Your Hub: Once published, move the card to the "Published" column and add the live URL. This closes the loop and makes the content easy to find for future promotion or updates.
Scaling Your Workflow: Advanced Tactics
Once you've mastered the four-phase framework, you can introduce more advanced strategies to handle even greater complexity.
- Mastering User Roles: Use Webflow's User Roles & Permissions strategically. A "Content Editor" might have full access to the CMS, while a "Guest Author" can only write and edit their own posts. This prevents accidental changes to site design or other content.
- Automate with Zapier: Connect your project management tool to Webflow. For example, create a "Zap" that automatically creates a new CMS item in Webflow when a card is moved to the "In Progress" column in Trello.
- Plan for Content Updates: Your workflow isn't just for new content. Create a process for systematically reviewing and updating old posts. This is critical for SEO and ensuring content accuracy. A smooth workflow is also essential when performing a large-scale Site Migration, allowing your team to efficiently update and format hundreds of pages of legacy content.
[IMAGE 3: A "Webflow Content Stack" graphic showing the logos of key tools arranged in a circle. In the center is the Webflow logo. Surrounding it are logos for Asana, Trello, Notion, Slack, Google Drive, and MarkUp.io.]
Frequently Asked Questions (FAQ)
Q1: What are the basic steps in a content workflow?
At its core, a content creation workflow consists of five steps:
- Ideation: Brainstorming and planning topics.
- Creation: Writing the copy, designing visuals, and creating videos.
- Review: Editing, fact-checking, and getting approval from stakeholders.
- Publication: Scheduling and publishing the content on your platform (like Webflow).
- Promotion: Distributing the content through various channels.
Q2: Can you give me a simple example of a content creation process?
Certainly! For a blog post, it might look like this:
- Idea: A content strategist adds a "Blog Post Idea" card to a Trello board.
- Writing: A writer is assigned, moves the card to "Writing," and drafts the post in the Webflow Editor.
- Review: The writer moves the card to "Review" and tags the editor. The editor reviews the post on the Webflow staging site and leaves feedback.
- Approval: Once changes are made, the editor moves the card to "Approved."
- Publish: The content manager schedules the post in Webflow and moves the card to "Scheduled."
Q3: What's the main difference between a task-based and status-based workflow?
Think of it like building a house. A task-based workflow is the checklist: lay foundation, frame walls, install plumbing. A status-based workflow is the project manager's high-level view: Not Started, In Progress, Awaiting Inspection, Complete. You need both to manage the project effectively.
Your Next Step: From Reading to Doing
A powerful Webflow site is a living, breathing asset, and it deserves a content process that enables it to grow, not one that holds it back. By moving away from chaotic, ad-hoc methods and implementing a structured workflow, you transform content creation from a source of stress into a predictable, scalable engine for growth.
Start small. Choose one content type like your blog and map out the four phases. Define your statuses, build a template in your project management tool, and walk your team through the process. The clarity you gain will be immediate, and the foundation you build will be ready to support your ambitions for years to come.


